Pruning
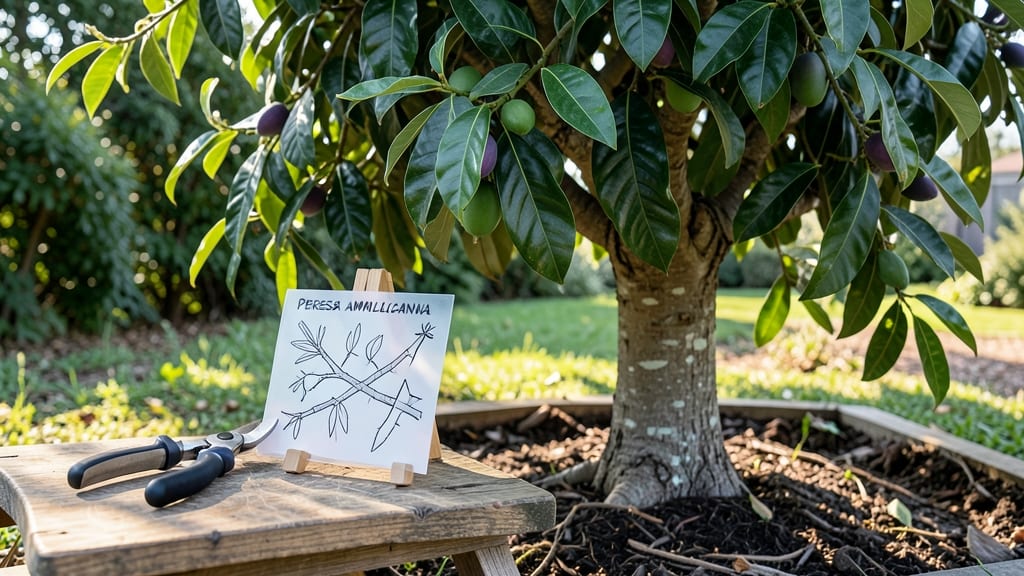
A simple avocado tree pruning diagram can turn your tangled branches into a structured, fruit-heavy masterpiece—here’s how to do it right.
I’ve pruned enough avocado trees to know that most people either over-prune (stressing the tree) or under-prune (missing key growth opportunities), and both approaches leave you with fewer avocados than you’d hoped for.
The secret lies in strategic cuts that balance shape, airflow, and fruit production without sacrificing the tree’s health.
You’ll need just three basic tools: sharp pruning shears for small branches, loppers for thicker stems, and a clean saw for any larger limbs that need removing. Timing matters too—prune in late winter or early spring, just as new growth begins, to encourage strong, fruit-heavy branches.
The goal isn’t to create a perfect topiary but to open up the canopy so sunlight reaches the center, where most of the fruit forms. Think of it like giving your tree a haircut that leaves it looking confident, not like it just lost a fight with a chainsaw.
By following these cuts, you’ll see thicker, more productive branches within a season, with fewer dead ends and more energy directed toward fruit development. The tree will reward you with glossy, dark-green leaves and—if you’re lucky—a harvest of creamy, buttery avocados by late fall.
The best part? Once you’ve done it right once, maintaining the shape becomes second nature, and your tree will thank you with year after year of reliable yields.
Whether you’re dealing with a young sapling or a mature tree that’s been neglected, the same principles apply—just scaled to the size. Start small, observe how the tree responds, and adjust as needed.
Pruning isn’t just about cutting; it’s about listening to the tree and working with its natural growth patterns. Ready to turn those bare branches into a future avocado feast?
📚 In This Guide
- What you need
- Instructions
- Tips and common mistakes
- Wrapping up and next steps
What you need
- ● Bypass pruning shears: Sharp, clean shears (4-6” blades) for small branches (½”–1” diameter). Must be sterilized with rubbing alcohol before/after use to prevent disease spread. 🌿
- ● Lopping shears: Heavy-duty shears (8–10” blades) for medium branches (1”–2” diameter). Look for bypass or anvil types—avoid dull or rusted tools!
- ● Pruning saw: A curved-tooth saw (8–10” blade) for thick branches (2”+ diameter). Pro tip: Use a folding saw for hard-to-reach spots! ✨
- ● Gloves: Sturdy, cut-resistant gloves (e.g., Mechanix or leather) to protect hands from thorns and sap.
- ● Ladder: A stable, extendable ladder (20–30 ft) rated for your tree’s height. Safety first: Use a helper or secure the ladder with straps! 🛡️
- ○ Disposable pruning sealant: Optional but helpful for sealing large cuts (>2” diameter) to prevent disease. Choose a latex-based or wound dressing product.
- ● Rubbing alcohol (70%+ isopropyl): For sterilizing tools between cuts.
- ● Plastic bags: To collect pruned branches for composting or disposal.
- ● Permanent marker: For labeling branches if you’re training the tree (e.g., marking future cuts).
- ● Pruning diagram/reference: Print or save this guide + a sketch of your tree to map cuts ahead of time!
- ● First-aid kit: Just in case—avocado thorns are no joke! 🩹
- ● Best time to prune: Late winter or early spring (before new growth starts) or after harvest. Avoid pruning during avocado fruit set (May–July in most regions).
- ● Weather check: Prune on a dry, cloudy day (not after rain or in extreme heat).
- ● Tree health: Only prune if the tree is healthy. Skip if you see signs of disease (e.g., fungal spots, oozing sap) or pests.
- ● Safety gear: Long sleeves/pants to protect from thorns and sap irritation.
How to prune an avocado tree for maximum fruit production
Here's how I shape my avocado trees for strong growth and heavy harvests.
Assess the Tree's Structure and Identify Key Branches
Start by examining the tree's central trunk and main branches. Look for the main scaffold branches—these are the thick, sturdy limbs growing from the trunk at wide angles (typically 45-60 degrees). These will form the tree's framework. Remove any branches that grow too close together or rub against each other, as they'll compete for energy and eventually damage one another.
Next, identify water sprouts—these are fast-growing, vertical shoots that pop up along the trunk or branches. While they might look vigorous, they drain energy from fruit production. Mark these for removal unless you're training a new branch. Use a pencil to lightly circle the branches you'll prune; this helps visualize the final shape before making cuts.
Make the Right Cuts Using Proper Technique
Always prune during the dormant season (late winter or early spring) when the tree isn't actively growing. Use clean, sharp pruning shears to make cuts just outside the branch collar—the swollen area where the branch meets the trunk or another branch. Avoid cutting flush with the trunk, as this can damage the tree's healing tissue.
For larger branches over ½ inch thick, use a pruning saw to avoid tearing the bark. Make a clean, angled cut about ¼ inch above a bud or lateral branch where you want new growth to emerge. If you're removing a branch that's thicker than your wrist, consider making a three-cut technique: start by undercutting the branch about 12-18 inches from the trunk, then make a top cut about 1 inch farther out, and finally remove the branch by twisting it gently outward.
Thin Out Overcrowded Areas for Better Airflow
Avocado trees need good airflow to prevent fungal diseases like root rot and anthracnose. Focus on thinning branches in the inner canopy where leaves and fruit cluster tightly. Remove one-third of the weakest or smallest branches in these areas to open up the tree. This isn't about reducing overall size—it's about creating a balanced, open structure that lets sunlight reach the center.
Watch for dead, diseased, or crossing branches—these are prime candidates for removal. If a branch is diseased (look for discolored leaves, oozing sap, or black spots), sterilize your pruning tools with rubbing alcohol before and after cutting to prevent spreading pathogens. After pruning, step back and visualize sunlight filtering through the branches. If you can still see dense clusters, keep thinning until light can reach the inner leaves.
Encourage New Growth in Strategic Areas
After removing problematic branches, look for areas where you want to encourage new growth. Lightly trim the tips of healthy branches to stimulate branching—this is called pinching. Focus on the outer third of the tree to create a fuller, bushier shape. Avoid heavy pruning of young trees, as they need their energy for root and trunk development.
If your tree has long, leggy branches, you can shorten them by one-third of their length to promote bushier growth. Make the cut just above a leaf node (the point where leaves attach) to encourage a new lateral branch. Avoid cutting back into old wood, as it may not regrow. After pruning, water the tree deeply to help it recover and reduce stress.
Tips & tricks for perfect avocado tree pruning
Pruning your avocado tree might seem intimidating, but these key insights will help you create a healthy, productive tree that bears fruit for years.
Timing is Everything: The dormant season (late winter or early spring) is non-negotiable for pruning. This timing aligns perfectly with the tree's natural growth cycle, minimizing stress. I've seen trees recover poorly when pruned during active growth—buds form poorly and fruit production suffers. Mark your calendar for late February to early March in most climates.
Branch Angle Matters: When selecting scaffold branches in Step 1, aim for those growing at 45-60 degree angles from the trunk. These angles naturally distribute weight and sunlight. I learned this the hard way after pruning branches at steeper angles—my tree developed weak crotches that eventually split under fruit weight. Use a protractor or even a simple angle-finding app to check angles if you're unsure.
Clean Cuts Prevent Disease: Sterilizing your tools with rubbing alcohol before and after each cut (as mentioned in Step 3) is crucial. I once skipped this step and ended up with a fungal infection that spread through my entire tree. Always clean tools between cuts, especially when dealing with diseased branches. A small bottle of rubbing alcohol in your pruning kit makes this quick and easy.
Visualize the Light Path: After thinning in Step 3, step back and imagine sunlight filtering through your tree. Your goal should be to create a "dappled light" effect where sunlight reaches the inner canopy. I use a flashlight at dusk to test this—if you can see shadows on the ground through the branches, you've done it right. This simple trick prevents fungal issues and ensures even fruit ripening throughout the tree.
Pro Tips for Avocado Tree Pruning Diagram
- Pruning your avocado tree might seem intimidating, but these key insights will help you create a healthy, productive tree that bears fruit for years.
- Timing is Everything: The dormant season (late winter or early spring) is non-negotiable for pruning.
- Branch Angle Matters: When selecting scaffold branches in Step 1, aim for those growing at 45-60 degree angles from the trunk.
Frequently asked questions
Got questions about pruning your avocado tree? You’re not alone—even experienced gardeners need a little guidance! Here are answers to the most common questions to help you prune like a pro.
When is the best time to prune an avocado tree?
The ideal time to prune is late winter to early spring (just before new growth starts). This helps avoid stressing the tree during fruiting seasons. Light trimming can also be done after harvest (summer/fall) to shape the tree without disrupting fruit production.
How do I know which branches to cut?
Focus on removing:
- Dead/diseased branches (they drain energy).
- Crossing or rubbing branches (they create wounds).
- Suckers (fast-growing shoots at the base—remove them!).
- Overcrowded growth (aim for an open canopy for airflow).
Can I prune an avocado tree in hot weather?
Pruning in extreme heat (above 90°F/32°C) can stress the tree. If you must trim in summer, do it early morning or late evening and water thoroughly afterward. Wait for cooler months if possible—your tree will thank you!
What if I prune too much?
Over-pruning (removing >25% of foliage at once) can weaken the tree, reduce fruit yield, and invite pests. Start conservatively—avocado trees bounce back slowly. If you’ve already overdone it, focus on light maintenance pruning next season.
Do I need to sterilize my pruning tools?
Yes!
Dip shears/sewing in rubbing alcohol or 10% bleach solution between cuts to prevent spreading bacterial/fungal diseases (like Phytophthora). Clean tools after every 3–4 cuts for safety.
Wrapping up and next steps
Mastering avocado tree pruning opens the door to a bountiful harvest and a thriving, healthy tree! 🌿 With the right cuts—guided by a clear avocado tree pruning diagram—you’ll encourage strong growth, better airflow, and those coveted fruit-filled branches. Remember, patience and precision pay off over time.
Ready to take the next step? Grab your tools, sketch your tree’s shape, and start pruning! For extra confidence, revisit our FAQs or consult a local expert. Your future avocado feast starts with today’s cuts! 🥑✨