Trees
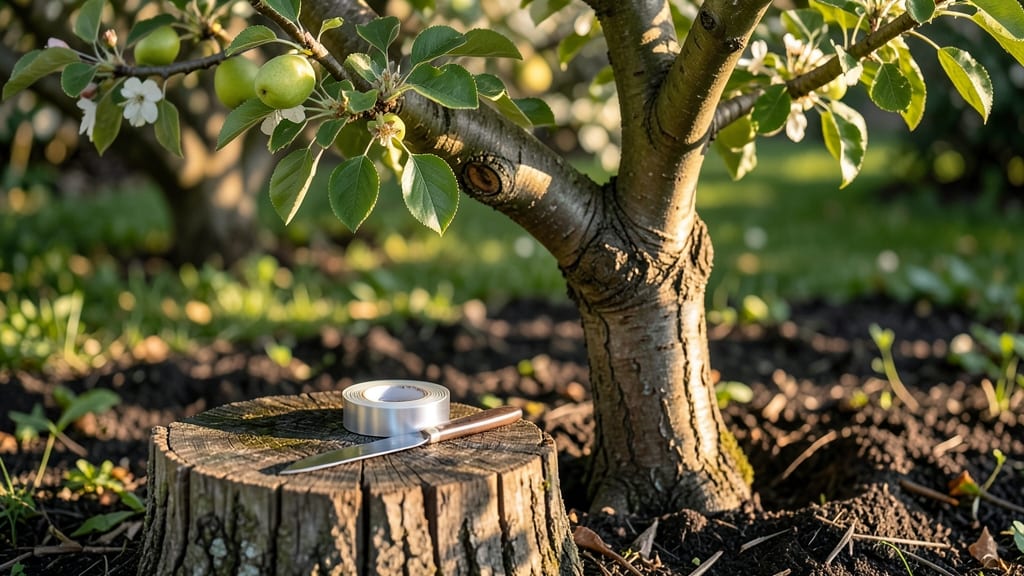
Grafting pear trees lets you grow rare varieties on hardy rootstock—something I learned the hard way after buying expensive nursery trees that never thrived in my zone.
The secret to a perfect union isn’t just sharp tools or clean cuts; it’s understanding when to work and how to coax the two parts into growing as one.
My first attempt failed when I grafted too late in spring, but the second time—right after bud break—I saw the scion sprout within weeks.
You’ll need basic tools: a grafting knife, rubber grafting tape, and a clear plastic bag to keep humidity high. The right rootstock matters too—dwarfing rootstock keeps trees manageable, while seedling rootstock gives them vigor.
Timing is everything: late winter or early spring, when sap flows but buds haven’t swollen yet. Even a slight misstep here can mean weeks of waiting—or worse, failure.
What you’ll end up with is a tree that combines the best of both worlds: the hardiness of the rootstock and the fruit quality of your favorite pear variety. The first year is all about patience—no fruit yet, just watching the graft line heal and the scion grow strong.
By next season, you’ll be harvesting pears that match your exact taste, not what the nursery decided to sell.
This method works for backyard orchards, container growing (with dwarf rootstock), or even repairing damaged trees. The key is consistency: check moisture, protect from pests, and don’t rush the process. Once you’ve nailed the technique, you’ll wonder why you didn’t start sooner.
📚 In This Guide
- What you need
- Instructions
- Tips and common mistakes
- Wrapping up and next steps
What you need
- ● Scion wood: Healthy, dormant pear tree branches (¼–½ inch thick) with 3–5 buds. Choose disease-resistant varieties!
- ● Rootstock: 1–2-year-old pear rootstock (bare-root or potted) with a diameter matching your scion.
- ● Grafting tape or rubber budding strips: 1–2 rolls (1-inch wide) to seal the graft union.
- ● Pruning shears or grafting knife: Sharp, clean tools (sterilize with rubbing alcohol).
- ● Grafting wax or sealing compound: 1 small tub to prevent drying and infection.
- ○ Pruning sealant (optional): For larger cuts to speed healing.
- ● Ruler or measuring tape: For precise cuts (markers help!).
- ○ Grafting clamp (optional): To hold scions in place during healing (especially for whip-and-tongue grafts).
- ● Plastic bags or humidity tent: To maintain moisture around the graft (use if grafting in dry conditions).
- ● Gloves: Protect your hands from sap and sharp tools.
- ● Spray bottle with water: Keep scions hydrated while working.
- ● Dormant season (late winter/early spring) for best success—pear trees graft best when sap is rising but buds aren’t swollen.
- ● A clean workspace (outdoors or indoors with good airflow).
- ● Time (1–2 hours per graft, depending on experience).
- ● Pro tip: 🌡️ Work in temperatures above 40°F (4°C)—cold wood is brittle and harder to graft!
How to graft pear trees for strong, healthy growth
Here’s my foolproof method for creating flawless unions that thrive year after year.
Select and Prepare Your Scion and Rootstock
Choose a healthy, disease-free scion—the top part of your pear tree—with 3-5 buds and ¼-inch diameter. I always pick scions from last year’s growth since they’ve already proven their vigor. For rootstock, select a 1-year-old whip (a young, straight shoot) with ½-inch diameter and smooth bark—rough bark makes grafting harder.
Trim the scion just above a bud, leaving 2-3 inches of stem below it. This ensures the scion stays compact and doesn’t dry out. For the rootstock, cut it at a 45-degree angle about 6 inches above the ground to encourage new growth. Keep both pieces in a plastic bag with damp paper towels until ready to graft—this prevents them from drying out.
Make Clean Cuts for a Perfect Fit
Use a sharp grafting knife to make a clean, precise cut on the rootstock. Start 1-2 inches above the trimmed base and slice down at a 30-degree angle, creating a ¼-inch-wide slot. The cut should be smooth—no tears or jagged edges. If your knife isn’t sharp, the bark will rip, and the graft will fail.
Now, match the scion to the rootstock. Cut the bottom of the scion at the same 30-degree angle, ensuring the cambium layers (the green layer just under the bark) align perfectly. Slide the scion into the slot until the edges meet snugly. If it feels loose, adjust the cuts—this is the moment that matters.
Secure the Graft and Protect the Union
Wrap the graft tightly with rafting tape or plastic grafting film, starting just below the union and working upward. Leave ½ inch of scion exposed above the tape to prevent suffocation. Press firmly but don’t crush the bark—you want a snug fit, not a bruised one. I always double-check by gently tugging the scion; if it moves, the tape isn’t secure enough.
Cover the entire graft with grafting wax or sealing compound to lock in moisture and prevent drying. Apply a thin, even layer, sealing the edges of the tape as well. This step is critical—without sealing, the graft will dry out within hours, even in humid conditions. Store the grafted tree in a cool, shaded spot (around 50-60°F) until new growth appears.
Monitor and Encourage New Growth
After 3-4 weeks, check for new buds swelling—this is your sign the graft has taken. Keep the rootstock lightly watered but not soggy; overwatering can rot the union. Once buds break and new leaves emerge, it’s time to remove the tape and wax. I usually do this gradually, peeling back a little each day to avoid shocking the young shoots.
Prune any suckers (new growth from the rootstock below the graft) as soon as they appear. These compete with the scion for energy, weakening the graft. Focus on keeping the scion strong—within 6-8 weeks, you should see vigorous new growth from the top. If the scion doesn’t leaf out by then, the graft likely failed, and you’ll need to try again.
Tips & tricks for perfect pear tree grafting
These game-changing tips will help you achieve flawless unions every time—no more failed grafts!
Scion Selection Secret: When choosing your scion in Step 1, look for buds that are plump and slightly raised—these are the healthiest. I've learned the hard way that sunken or discolored buds rarely produce strong growth. Also, always collect scions on a cool morning when the tree's sap is low; this reduces bleeding when you make your cuts later.
Cutting Technique: For Step 2, practice your angle on scrap wood first. The 30-degree angle isn't just arbitrary—it creates maximum surface area for the cambium layers to connect. If your knife slips and creates a rough edge, don't panic! Simply trim away the damaged portion and make a fresh cut. The goal is always smooth, clean surfaces that fit together like puzzle pieces.
Grafting Tape Mastery: In Step 3, I've found that overlapping the tape by about ½ inch creates a stronger seal than end-to-end connections. This prevents moisture loss and keeps the graft stable. Pro tip: Use a thin layer of petroleum jelly around the exposed bud to create an extra moisture barrier—this little trick has saved several grafts that would have otherwise dried out.
Post-Graft Care: After the 3-4 weeks monitoring period in Step 4, I recommend keeping your grafted tree in partial shade for an additional 2 weeks after removing the tape. This gradual transition helps the new shoots acclimate to full sunlight without shock. I've seen grafts fail because they were moved too quickly—patience pays off here!
Pro Tips for Grafting Pear Trees
- These game-changing tips will help you achieve flawless unions every time—no more failed grafts!
- Scion Selection Secret: When choosing your scion in Step 1, look for buds that are plump and slightly raised—these are the healthiest.
- Cutting Technique: For Step 2, practice your angle on scrap wood first.
Frequently asked questions
Got questions about grafting pear trees? You’re not alone—this technique can feel tricky at first! Below, we’ve rounded up the most common queries to help you feel confident before you start. Whether you’re a beginner or just need a quick refresher, these answers will keep your grafting journey smooth and successful.
When is the best time to graft pear trees?
The ideal window for grafting pear trees is during dormancy—typically late winter to early spring (February–March in most climates). This ensures the tree isn’t actively growing, reducing stress and improving the chances of a strong union. Avoid grafting during extreme cold or heat, as both can hinder healing.
How long does it take for a graft to take hold?
Most grafts begin to show signs of success in 4–8 weeks, but full integration can take up to 6–12 months. Look for new growth at the graft union (where the scion meets the rootstock) as a positive sign. Patience is key—don’t be tempted to prune or stress the tree during this time.
Can I graft a pear tree onto a different type of rootstock?
Yes! Pear trees can be grafted onto rootstocks like quince (Cydonia oblonga) or other pear varieties, but compatibility matters. Quince rootstocks are popular for dwarfing trees, while seedling rootstocks promote vigor. Always choose a rootstock suited to your climate and desired tree size for the best results.
What should I do if my graft fails to heal?
If the graft union looks dry, cracked, or shows no new growth, don’t panic! First, check for tight wrapping (if using grafting tape or rubber bands) and ensure the area stays moist. Try re-grafting with a fresh scion if the rootstock is still healthy. Poor timing, disease, or incompatible varieties are common culprits.
Are there any pear varieties that are harder to graft than others?
Some pear varieties, like Bartlett or Bosc, graft relatively easily, while others (e.g., Asian pears) can be trickier due to differences in bark texture or growth habits. If you’re unsure, start with a proven variety like Seckel or Kieffer, which are known for their grafting success.
Still stumped? Drop your question in the comments—we’re happy to help you troubleshoot!
Wrapping up and next steps
Grafting pear trees is a rewarding skill that lets you combine the best traits of different varieties—whether it’s disease resistance, flavor, or hardiness—into one thriving tree. With the right tools, timing, and technique, you’ll soon be nurturing a perfectly united orchard gem. 🌱✨
Ready to take the next step? Start small with a single graft, practice your precision, and soon you’ll be confidently creating your own fruit-bearing masterpieces. Happy grafting—and may your pear trees flourish!