Propagation
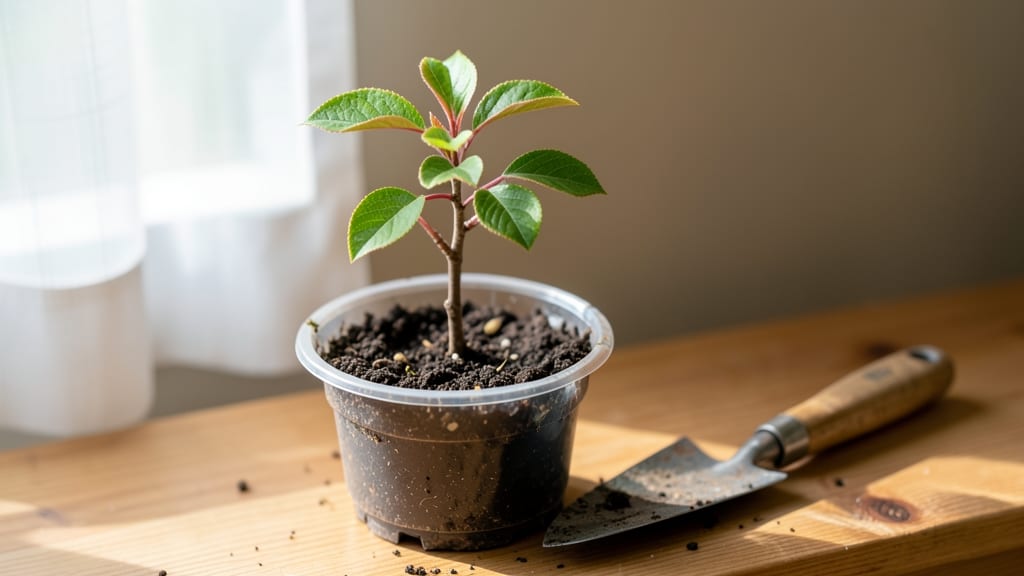
Growing an apricot tree from a pit is one of those magical gardening stories—like turning a single seed into a fruit-bearing giant that could feed your family for decades. 🌱 The process starts with a simple pit from your grocery store apricot, but patience is key: it takes 3-5 years before you’ll see fruit, and the early stages require just the right balance of moisture, warmth, and light.
Here’s the thing—most people give up after the first few months because germination can be slow, or the little sapling seems too fragile. But with the right setup, you’ll watch those first green leaves unfurl within 4-8 weeks, then a sturdy stem ready for transplanting.
The secret lies in mimicking the tree’s natural environment: a warm, slightly damp mix of sand and soil, and a sunny spot that won’t bake the tender seedling.
By the time you’re pinching back new growth in its second year, you’ll have a 3-foot-tall tree that’s already outgrowing its container. The real payoff comes when it finally blooms—those delicate pink flowers signal the start of something extraordinary.
With a little care, you could be harvesting your own apricots by the time your kids are teens.
Fair warning: rot is the biggest enemy in those early weeks, so we’ll cover how to keep the pit from molding and what to do if it stalls. Stick with me, and you’ll turn that pit into a tree that might just outlive you—and that’s a legacy worth growing.
📚 In This Guide
- What you need
- Instructions
- Tips and common mistakes
- Wrapping up and next steps
What you need
- ● Fresh apricot pit: 1–2 pits (preferably from a ripe, organic apricot for best results). Pro tip: 💡 Avoid pits from store-bought apricots treated with chemicals.
- ● Paper towels or damp cloth: 2–3 sheets (for stratification).
- ● Plastic bag or airtight container: 1 (to hold the damp towels/pits).
- ● Small pots or containers: 2–3 (4–6 inches in diameter, with drainage holes).
- ● Well-draining potting mix: 1 bag (look for a blend labeled for seeds or seedlings).
- ● Spray bottle: 1 (for gentle watering).
- ● Plastic wrap or clear lid: 1 (to create a humidity dome).
- ● Grow lights or sunny windowsill: 1 (a south-facing window or LED grow light works best).
- ○ Fertilizer (optional): 1 small bottle of balanced, water-soluble fertilizer (e.g., 10-10-10) for later stages.
- ● Patience: Germination can take 4–12 weeks—don’t rush it!
- ● Warmth: A consistent temperature of 65–75°F (18–24°C) speeds up germination.
- ● Space: Ensure your seedlings have room to grow (they’ll need repotting as they mature).
- ● Time for care: Regular monitoring of moisture and light is key!
Step-by-step guide to growing an apricot tree from a pit
Here's how to turn a single pit into a thriving young tree—it's easier than you think.
🌱 Step 1: Prepare the Pit for Planting
Start by cleaning the apricot pit thoroughly. Rinse it under cool water to remove any fruit residue, then gently rub the surface with a paper towel to remove the sticky coating. This step prevents mold and speeds up germination. I like to soak the pit in a glass of lukewarm water overnight—this softens the hard outer shell and kickstarts the germination process.
After soaking, place the pit between two paper towels. Fold the towels so they hold the pit snugly but don't crush it. This creates a moist environment that mimics the natural conditions the seed needs to sprout. Keep the towels damp (not soaking wet) by misting lightly every day or two. You'll see the first signs of life—tiny cracks or a small sprout—within 7-14 days.
💧 Step 2: Plant the Germinated Pit
Once the sprout reaches about ½ inch tall, it's time to plant. Fill a small pot (around 4-6 inches deep) with well-draining potting mix. Press the mix down lightly so it's firm but not compacted. The reason we use potting mix is that it drains well and prevents the roots from sitting in soggy soil, which can rot the delicate new growth.
Dig a small hole—about 1 inch deep—and place the pit in the hole with the sprout facing upward. Cover it lightly with soil, leaving the top of the pit exposed. Water gently until the soil feels evenly moist, but not saturated. Place the pot in a warm spot (around 65-75°F) with bright, indirect light. Direct sunlight at this stage can scorch the tender sprout.
☀️ Step 3: Care for the Seedling
Keep the soil consistently moist but never waterlogged. You'll know it's time to water again when the top ½ inch of soil feels dry to the touch. Overwatering is the biggest mistake here—it causes the roots to suffocate and the seedling to rot. I water mine from the bottom by placing the pot in a shallow tray of water for 10-15 minutes—this encourages the roots to grow downward and strengthens the stem.
After 4-6 weeks, when the seedling has 2-3 sets of true leaves (not the first tiny leaves that appear), it's ready for a larger pot. Choose a container that's 6-8 inches deep and fill it with fresh potting mix. Gently remove the seedling from its first pot, being careful not to damage the roots, and transplant it into the new container. Water it thoroughly after transplanting to help it settle in.
⏰ Step 4: Transition to Outdoor Conditions
When the weather warms up and there's no risk of frost (usually late spring or early summer), it's time to move the seedling outside. Start by placing it in a sheltered spot, like a patio or balcony, for 1-2 hours the first day. Gradually increase its outdoor time over 7-10 days, moving it to a sunnier spot each time. This process, called hardening off, helps the seedling adjust to the harsher outdoor conditions without shock.
Once the seedling has spent a full day outside without wilting, you can plant it in the ground or a larger container. Choose a location with full sun (at least 6-8 hours of direct sunlight daily) and well-draining soil. Dig a hole twice as wide as the seedling's root ball but no deeper. Place the seedling in the hole, backfill with soil, and water deeply. Mulch around the base to retain moisture and protect the roots.
Tips & tricks for growing an apricot tree from a pit
Growing an apricot tree from a pit is all about patience and creating the right conditions—here's what I've learned to make it succeed.
Germination Patience: Those 7-14 days for sprouting can feel like forever, but don't rush it! Keep the paper towels consistently damp (not wet) and place them in a warm spot—like on top of your fridge. I've found that wrapping the paper towels in a plastic bag creates a mini greenhouse effect, speeding up germination by a few days without risking mold. Just open the bag daily to check moisture levels.
Lighting Strategy: In Step 2, when you're planting the ½-inch sprout, avoid placing it in direct sunlight immediately. Instead, use a grow light or position it near an east-facing window where it gets gentle morning light. Too much direct sun at this stage can cause the delicate sprout to dry out or even burn. I keep mine under a simple LED grow bulb for 10-12 hours daily until it's strong enough for outdoor conditions.
Transplanting Technique: When you're ready to move your seedling to a larger pot after 4-6 weeks, here's a pro move: water the seedling thoroughly the day before transplanting. This keeps the roots moist and makes them easier to extract from the small pot. Gently squeeze the sides of the pot to loosen the root ball, then slide the seedling out with as much soil intact as possible. The less you disturb those tender roots, the faster it'll recover and start growing again.
Pro Tips for Grow Apricot Tree From A Pit
- Growing an apricot tree from a pit is all about patience and creating the right conditions—here's what I've learned t...
- Germination Patience: Those 7-14 days for sprouting can feel like forever, but don't rush it! Keep the paper towels c...
- Lighting Strategy: In Step 2, when you're planting the ½-inch sprout, avoid placing it in direct sunlight immediately...
Frequently asked questions
Growing an apricot tree from a pit is exciting, but it’s natural to have questions! Here are answers to some of the most common ones to help you succeed.
How long does it take for an apricot pit to sprout?
Patience is key! Apricot pits typically take 4–12 weeks to sprout after planting, depending on temperature, moisture, and soil conditions. Some may germinate faster in warmer climates (60–70°F) or with a bit of bottom heat. If nothing happens after 3 months, gently check for rot or adjust your setup.
Can I plant an apricot pit outdoors right away?
No—never plant the pit directly in cold ground! Apricot seeds need a warm, controlled environment to break dormancy. Start indoors in a pot (as described in the guide) for 6–8 weeks, then transplant outdoors after the last frost when soil is warm. Cold soil can kill the tender seedling.
Will the tree produce fruit like the original apricot?
Probably not! Trees grown from pits are seedlings and may produce small, tart, or irregular fruit—if any at all. For reliable apricots, graft a cultivated variety onto your seedling later. Think of this as a fun experiment or a future rootstock!
What if my pit moldy or doesn’t germinate?
Mold or failure to sprout often means the pit was damaged, rotting, or didn’t break dormancy. Try these fixes:
- Check for softness: If mushy, discard it.
- Re-stratify: Place the pit back in the fridge for 2–4 weeks before retrying.
- Use a fresh pit: Some pits are non-viable—try another!
How big should the seedling be before transplanting?
Wait until your seedling has 2–4 true leaves and is at least 3–6 inches tall. Hardier seedlings (4+ inches) handle outdoor conditions better. Acclimate it to sunlight gradually over 1–2 weeks to avoid shock—this is called hardening off!
Wrapping up and next steps
Growing an apricot tree from a pit is a rewarding journey that combines patience, care, and a touch of nature’s magic! 🌱 By following these steps—from soaking the pit to transplanting your sapling—you’re not just nurturing a plant; you’re cultivating a potential source of delicious fruit for years to come. Remember: consistency is key, and even if challenges arise, don’t hesitate to troubleshoot with the tips shared above.
Now that you’re armed with knowledge, take the next step—plant that pit today and watch your green thumb grow! Whether you’re a beginner or a seasoned gardener, every seedling starts somewhere. Happy growing! 🌿