Propagation
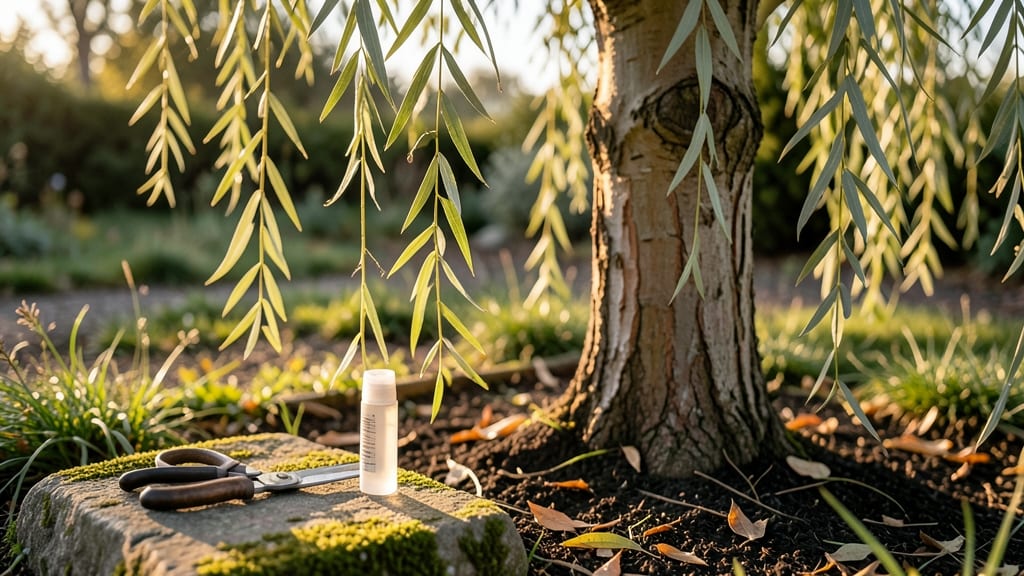
Propagating a weeping willow tree from water sprouts is one of the most rewarding ways to grow this graceful tree—especially when you want to preserve its iconic drooping branches. 🌿 I’ve successfully grown new willows this way, and the key lies in timing, patience, and understanding how willow cuttings respond to water.
Unlike many trees, willows root effortlessly in water, making this method foolproof for beginners.
The best time to take cuttings is in early spring when new shoots emerge, but you can also propagate in late summer if your climate stays warm. You’ll need healthy, pencil-thick sprouts (about 6–12 inches long) with at least two sets of leaves.
The water method keeps roots oxygenated and visible, so you can track progress without guessing. Just place the cuttings in a jar of water, changing it every 3–4 days to prevent bacteria.
Within 2–4 weeks, you’ll see roots forming—sometimes even faster if the weather is warm. Once roots reach 2–3 inches, transplant them into moist soil, keeping the root ball damp for the first few weeks. The result?
A sturdy young tree that grows 3–5 feet in its first season, with that signature weeping form you love. This method works best in USDA Zones 5–9, but with proper care, you can adapt it to cooler climates.
Here’s where most gardeners trip up: overwatering the soil after transplanting or choosing cuttings that are too woody. Stick to fresh, flexible sprouts, and avoid direct sun until roots establish.
With this approach, you’ll have a thriving weeping willow in no time—ready to shade a pond, line a driveway, or anchor a landscape with its elegant, cascading branches.
📚 In This Guide
- What you need
- Instructions
- Tips and common mistakes
- Wrapping up and next steps
What you need
- ● Healthy weeping willow branches – Choose semi-hardwood cuttings (about 6–12 inches long) from the current season’s growth. Look for flexible, green stems with small leaves.
- ● Sharp pruning shears or bypass pruners – Sterilized to prevent disease. A clean cut at a 45-degree angle (just below a leaf node) is ideal.
- ● Clean water – Use room-temperature, chlorine-free water (let tap water sit out for 24 hours if chlorinated). A glass jar or vase (at least 8 inches tall) works best.
- ○ Rooting hormone (optional but helpful) – A powder or gel like Rootone or Clonex to boost root growth. Follow label instructions for application.
- ● Small pebbles or marbles – A handful to weigh down the cuttings and keep them submerged.
- ● Clear plastic bag or humidity dome – To create a mini greenhouse effect (e.g., a plastic wrap-sealed bag with a twist tie).
- ● Bright, indirect light source – A sunny windowsill or grow light (avoid direct sun, which can overheat the cuttings).
- ● Spray bottle with water – For misting leaves to maintain humidity.
- ● Patience and a notebook – Track progress, water changes, and root growth! 📝
- ● Hydrogen peroxide (3%) – A few drops in the water to prevent bacterial growth.
- ● Fertilizer (diluted) – A weak dose of seaweed extract or fish emulsion after roots form (wait 4–6 weeks).
- ● Label and marker – To track cutting dates and varieties.
- ○ Heating mat (optional) – For faster rooting in cooler climates (set to 70–75°F).
Step-by-Step instructions for propagating weeping willow trees
Here's the foolproof water sprout method I've used to grow healthy weeping willows from cuttings.
🌱 Step 1: Select and Prepare Healthy Cuttings
Choose semi-hardwood cuttings from the current season's growth—look for 4-6 foot long branches with 3-5 leaf nodes. The best time is late spring or early summer when new growth is firm but still pliable. I avoid using branches thicker than a pencil, as they're harder to root and require more energy from the plant.
Make a clean, 45-degree angle cut just below a leaf node using sharp pruning shears. Remove all leaves from the bottom 6 inches of the cutting to prevent rot in the water. Strip any remaining leaves in half to reduce water loss. Label each cutting with a permanent marker if you're working with multiple varieties, as willow branches can look identical until roots form.
💧 Step 2: Create the Water Propagation Setup
Fill a clean 5-gallon bucket or large container with room-temperature water—chlorine-free water works best, so let tap water sit out for 24 hours if your supply is treated. Submerge the cut end of each cutting 2-3 inches deep, ensuring no leaves touch the water to prevent bacterial growth. I use a clear container so I can monitor root development without disturbing the cuttings.
Change the water every 3-4 days to prevent algae buildup and maintain oxygen levels. Place the container in bright, indirect light—direct sun will overheat the water and stress the cuttings. You'll see tiny white root hairs appear in 7-14 days, followed by 1-inch roots in another 2-3 weeks. Never let the water level drop below the submerged portion of the cutting, as this can cause the cutting to rot.
☀️ Step 3: Transition to Soil When Roots Develop
Once roots reach 3-4 inches long, it's time to plant. Prepare a well-draining mix of 50% potting soil and 50% perlite in a 3-gallon container or directly in the ground if your climate allows. The weeping willow's roots are sensitive to compaction, so avoid garden soil unless amended with compost. Dig a hole slightly larger than the root ball and gently place the cutting at the same depth it was growing in water.
Water thoroughly after planting to settle the soil around the roots. Mulch with 2 inches of wood chips to retain moisture and protect young roots from temperature fluctuations. Keep the soil consistently moist but never soggy—willows hate waterlogged conditions. You'll notice new leaves emerging within 2-3 weeks as the plant adjusts to its new environment. This is your signal that the transition was successful.
✂️ Step 4: Establish and Maintain Young Trees
For the first growing season, protect your young willow from strong winds and direct sun, which can scorch tender new growth. Prune any branches that grow at sharp angles to the main stem, as these are prone to breaking under the weight of future foliage. I like to fertilize lightly with a balanced 10-10-10 formula in early spring to encourage robust root and shoot growth without overwhelming the plant.
Water deeply once a week during dry spells, allowing the top 2 inches of soil to dry between waterings. Weeping willows naturally grow near water sources, so they appreciate consistent moisture but won't tolerate standing water. After 12 months, your propagated tree should be established enough to handle full sun and occasional drought. At this point, you can transplant it to a permanent location if desired, though willows develop extensive root systems and prefer to stay put.
Tips & tricks for perfect weeping willow propagation
Common pitfalls—and how to sidestep every one—when growing weeping willows from cuttings.
Cutting Selection: Look for branches that are pencil-thick or slightly thinner—they root more reliably than thicker stems. In Step 1, when preparing your cuttings, test flexibility: bend the branch slightly. If it snaps cleanly with a slight bend, it's semi-hardwood and perfect for propagation. Avoid branches that are either too green (too soft) or completely woody (too mature).
Water Quality Matters: The 24-hour chlorine removal step is critical, especially if you're using tap water. For even better results, consider using rainwater or distilled water, which contain no chemicals that could inhibit root growth. In Step 2, if you notice cloudy water after the 3-4 day change, it's a sign of bacterial growth—this means you should increase your water changes to every 2 days until roots form.
Root Development Timeline: Those 7-14 days for root hairs to appear can feel like an eternity, but patience pays off. Place your container near a bright window but avoid direct sunlight—you'll see the first signs of root growth when tiny white strands appear along the submerged portion. Once roots reach 1 inch (around 2-3 weeks), resist the urge to transplant too soon; wait until they're 3-4 inches long for best success in Step 3.
Soil Transition Strategy: When moving your rooted cuttings to soil in Step 3, prepare the hole before removing them from water. This minimizes stress on the delicate roots. Gently swirl the container to dislodge any soil particles that might have formed, then place the cutting at the exact same depth it was growing in water. The 2-inch wood chip mulch isn't just for moisture—it also protects young roots from temperature swings that could shock your new tree.
Pro Tips for Propagate A Weeping Willow Tree
- Common pitfalls—and how to sidestep every one—when growing weeping willows from cuttings.
- Cutting Selection: Look for branches that are pencil-thick or slightly thinner—they root more reliably than thicker s...
- Water Quality Matters: The 24-hour chlorine removal step is critical, especially if you're using tap water. For even ...
Frequently asked questions
Got questions about propagating your weeping willow?
You’re not alone! Here are answers to the most common concerns—so you can grow those graceful branches with confidence.
Can I propagate a weeping willow from a store-bought tree?
It depends! If the tree is young (under 3 years old) and healthy, you can try water propagation. However, many nursery trees are grafted or treated to prevent rooting. Look for suckers or low-hanging branches instead—they’re more likely to succeed.
How long does it take for roots to form in water?
Patience is key! Roots typically appear in 4–8 weeks, but some willows take up to 3 months. Keep the water fresh, and avoid direct sunlight on the container. Once roots are 2–3 inches long, it’s time to plant!
What’s the best time of year to propagate a weeping willow?
The ideal window is late spring to early summer (May–June). This gives roots time to establish before winter. Avoid fall or winter propagation—young cuttings are vulnerable to cold. If you must propagate later, use a greenhouse or indoor setup.
Why did my weeping willow cutting rot in water?
Overwatering or bacterial growth is usually the culprit. Change the water every 2–3 days and use a clean container. If the cutting turns mushy or smells bad, trim the rotten part and restart with a fresh cut. Keep only 2–3 inches submerged to prevent decay.
Are there easier alternatives to water propagation?
Yes! Try soil propagation for faster results. Dip the cut end in rooting hormone, plant in moist potting mix, and cover with a plastic bag to retain humidity. Weeping willows also sprout from layering—bend a low branch into the soil and weigh it down until roots form.
Wrapping up and next steps
Propagating a weeping willow tree is a rewarding journey that blends patience with nature’s magic! 🌱 With the right tools, timing, and care, you can grow a stunning, cascading beauty from simple water sprouts.
Whether you’re a beginner or a green thumb, this method makes it easier than ever—so roll up your sleeves and enjoy the process.
Now that you’re ready, why not take the next step? Plant your sprouted willow in well-draining soil and watch it thrive in your garden or landscape. Happy growing! 🌿