Pruning
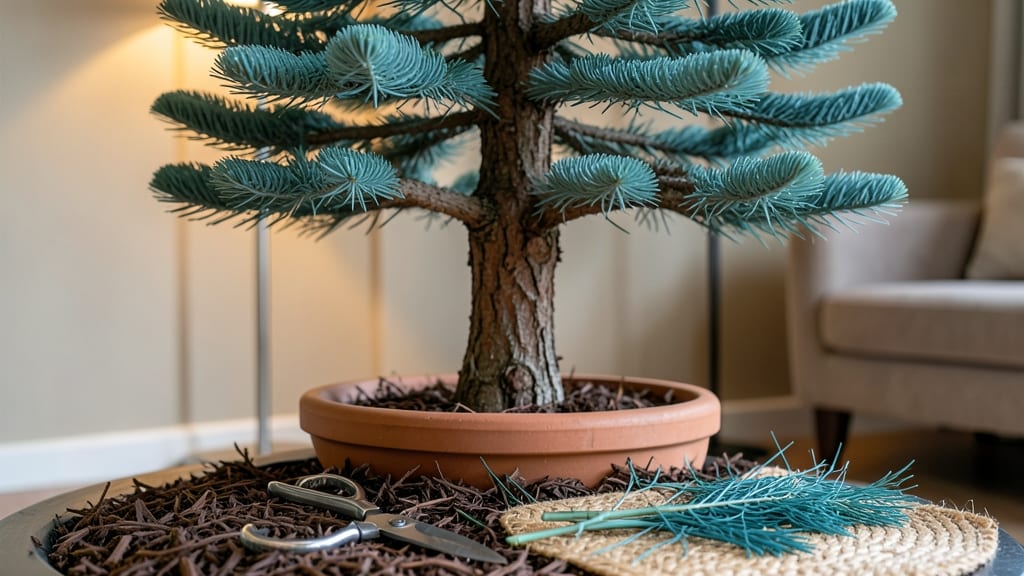
Pruning Christmas trees isn’t just about keeping them looking festive—it’s the secret to healthy growth that lasts for years. 🌲 I’ve learned the hard way that skipping this step means sparse branches and stunted growth, but with the right cuts, your tree will stay lush and full.
The best time to prune is right after the holidays or during dormancy, when the tree isn’t stressed by new growth.
You’ll only need a few simple tools: sharp bypass pruners for clean cuts, a small handsaw for thicker branches, and gloves to protect your hands from sap. Focus on removing dead or crossing branches first—they’re the easiest to spot and the most critical to trim.
Thin out the interior to improve airflow, which helps prevent pests and disease.
After pruning, your tree will bounce back with fresh, vibrant growth within a few weeks. The key is to never remove more than 25% of the foliage in one session, or you’ll shock the tree.
Water deeply after pruning, especially if you’ve cut into larger branches, to help it recover faster.
This method works for all common varieties, from Norfolk Island pines to Fraser firs. Whether you’re shaping a young tree or reviving an older one, the same principles apply. Let’s get those branches looking their best for next year’s decorations!
📚 In This Guide
- What you need
- Instructions
- Tips and common mistakes
- Wrapping up and next steps
What you need
- ● Pruning shears or loppers – Choose bypass pruners (for clean cuts) or loppers (for thicker branches, 1–3 inches in diameter). Ensure they’re sharp and sanitized with rubbing alcohol.
- ● Gloves – Heavy-duty gardening gloves to protect your hands from sap, thorns, or rough branches.
- ● Ladder or step stool – A sturdy extension ladder (for tall trees) or a foldable step stool (for smaller ones) to safely reach higher branches.
- ● Heavy-duty trash bags or buckets – For collecting pruned branches and debris. Aim for 2–3 large bags or a 5-gallon bucket.
- ○ Disinfectant (optional but recommended) – A 10% bleach solution (1 part bleach to 9 parts water) or rubbing alcohol (70% isopropyl) to sterilize tools between cuts and prevent disease.
- ● Safety gear – Safety goggles (to shield eyes from debris) and closed-toe shoes (for stability).
- ● Tree growth regulator – A hormone rooting powder or pruning sealant to treat larger cuts and promote faster healing.
- ● Marking twine or flags – To tag branches for future reference (e.g., identifying deadwood or overgrowth).
- ● Wheelbarrow or tarp – For hauling heavy branches or protecting your lawn from sap stains.
- ● Camera or notebook – To document the tree’s shape before and after pruning for future reference.
Step-by-step guide to pruning Christmas trees for longevity
Keep your trees thriving with these simple, science-backed pruning techniques.
🌿 Step 1: Choose the Right Time for Pruning
Prune your Christmas tree in late winter or early spring, before new growth begins. This timing prevents stressing the tree during its active growing season and avoids attracting pests that thrive in fresh cuts. I always aim for February or March in most climates, when temperatures stay above 40°F but before buds swell.
If you're pruning a young tree, you can do light shaping in summer after the first flush of new growth appears. Just avoid heavy pruning then—it can stimulate tender new shoots that won't survive winter. For established trees, late winter is your best bet for clean, healthy cuts that promote strong regrowth.
✂️ Step 2: Use Proper Tools and Techniques
Grab your sharp bypass pruners (never dull shears—they tear instead of cleanly cut) and sterilize them first with rubbing alcohol or a bleach solution. This prevents spreading disease between cuts. I like to wipe down blades after every 3-4 cuts to keep them clean, especially if working with multiple trees.
Make cuts just above a bud or branch collar—the swollen area where the branch meets the trunk. Cut at a 45-degree angle if removing larger branches, but for small pruning, a straight cut works fine. Never leave stubs—this invites rot and weak growth. If a branch is thicker than your pruners, use a hand saw instead, but still cut cleanly at the collar.
🌱 Step 3: Remove Dead, Diseased, or Crowded Branches
Start by scanning the tree for dead branches (they snap easily when bent) or diseased wood (discolored, oozing sap, or fungal growth). Remove these first—they drain energy from healthy parts. I also look for crossing branches rubbing together, which can create wounds and invite pests.
Next, thin out the interior to improve airflow. Aim for an open, vase-like shape with sunlight reaching the inner branches. Remove no more than 25% of the tree’s foliage in one session—this keeps stress low. Watch for water sprouts (fast-growing, vertical shoots) and prune them back immediately; they steal energy from the tree’s structure.
☀️ Step 4: Shape for Balance and Light Penetration
Step back and assess the tree’s natural shape. Christmas trees grow best with a tapered silhouette, wider at the bottom and narrower at the top. Use your pruners to shorten overlong branches by cutting just above a bud facing outward. This encourages fuller growth in the right direction.
If the tree leans, prune slightly more on the heavier side to encourage upright growth. Avoid heavy pruning on one side—this can create an unbalanced look and stress the tree. For young trees, focus on removing competing leaders (competing upward shoots) to establish one strong central stem. You’ll see new, even growth within 4-6 weeks of proper shaping.
💧 Step 5: Clean Up and Monitor Recovery
After pruning, rake up all fallen debris and dispose of it away from the tree. This prevents fungal spores from lingering and infecting fresh cuts. I like to apply a light layer of mulch (if your tree is in ground) around the base, keeping it 2-3 inches away from the trunk to avoid moisture buildup.
Water the tree deeply after pruning to help it recover, especially if you’ve done significant shaping. Watch for new growth in 2-3 weeks—this is your sign the tree is healing well. If you notice yellowing leaves or wilting, it might be overpruned or stressed. In that case, hold off on heavy pruning for another year and focus on care instead.
Tips & tricks for pruning Christmas trees
Here's what nobody tells you about keeping your Christmas trees healthy and thriving after pruning.
Timing is Everything: The late winter/early spring window (February-March) is critical for established trees because this is when they're dormant but about to wake up. If you prune too early, you risk exposing fresh cuts to winter pests; too late, and you'll stress the tree during its active growth phase. For young trees, summer pruning is fine, but keep it light—just enough to shape without stimulating tender new growth that won't survive winter.
Tool Technique Matters: Your pruners should be sharper than your focus on the first cut. Dull blades tear instead of cleanly cutting, creating larger wounds that heal poorly. I always sterilize my tools between trees to prevent spreading disease—just wipe with rubbing alcohol or a bleach solution. For branches thicker than your pruners, switch to a hand saw but still cut cleanly at the branch collar. Never leave stubs, even if it means making a slightly longer cut.
Visual Cues for Healthy Pruning: In Step 3, when removing branches, look for these signs: dead branches snap when bent, diseased wood shows discoloration or oozing sap, and crossing branches create visible rubbing points. For thinning, aim to see light through the interior—this tells you sunlight is reaching all branches. The 25% foliage rule is your safety net: if you're removing more than a quarter of the branches, you're overdoing it.
Recovery Monitoring: After pruning, watch for new growth in 2-3 weeks as your sign of success. Yellowing leaves or wilting after this period means you may have overpruned. In that case, focus on care rather than cutting next year—water deeply, apply mulch properly, and avoid heavy pruning for at least 12 months. The 4-6 week growth timeline in Step 4 is your reward for proper shaping!
Pro Tips for Pruning Christmas Trees
- Here's what nobody tells you about keeping your Christmas trees healthy and thriving after pruning.
- Timing is Everything: The late winter/early spring window (February-March) is critical for established trees because this is when they're dormant but about to wake up.
- Tool Technique Matters: Your pruners should be sharper than your focus on the first cut.
Frequently asked questions
Got questions about keeping your Christmas trees thriving with the right pruning? Here are answers to the most common concerns—so you can enjoy lush, festive foliage year after year!
When is the best time to prune a Christmas tree?
The ideal time to prune is late winter or early spring (before new growth starts). Avoid pruning in fall if you plan to decorate it for the holidays—this can stress the tree. For container-grown trees, light trimming can happen year-round, but major pruning should still wait for dormancy.
How often should I prune my Christmas tree?
Prune annually for container trees and every 2–3 years for in-ground trees. Focus on removing dead, crossed, or overcrowded branches first. Over-pruning weakens the tree, so aim for a 20–30% reduction in foliage at most per session.
Can I prune a Christmas tree right before decorating it?
No—pruning too close to the holidays (especially in late fall/winter) can stunt growth and make the tree more vulnerable to pests. If you must trim, do it 6–8 weeks before decorating to allow wounds to heal. For pre-lit trees, wait until after the season to avoid damaging lights.
What should I do if my tree’s branches are too sparse after pruning?
Sparse growth often means over-pruning or poor nutrition. Try these fixes:
- Fertilize with a slow-release, acid-loving plant fertilizer (like pine-tree-specific blends).
- Mulch the base 3–4 inches deep (but keep it away from the trunk to prevent rot).
- Water deeply 1–2 times per week during dry spells (check soil moisture 2–3 inches down).
Are there alternatives to pruning for trees that look messy?
Yes! If pruning feels overwhelming, try:
- Thinning cuts: Remove entire branches at the base (not just snipping tips) to improve airflow.
- Shearing (for topiary trees): Use hedge shears for a uniform shape, but avoid heavy shearing—it can harm the tree.
- Replacement: If the tree is severely diseased or past saving, consider removing it and planting a new one in a sunnier spot.
Wrapping up and next steps
Pruning your Christmas tree isn’t just about aesthetics—it’s a gift to its long-term health! 🌲 By following the right techniques, you’ll encourage fuller growth, prevent pests, and keep your tree thriving for years. Whether you’re a first-timer or a seasoned pruner, the key is patience and consistency.
Ready to give your tree the care it deserves? Start by marking your calendar for your next pruning session—spring or early summer is ideal! With a little effort, your tree will reward you with lush, vibrant branches and a stunning holiday centerpiece every year. 🎄✨