Propagation
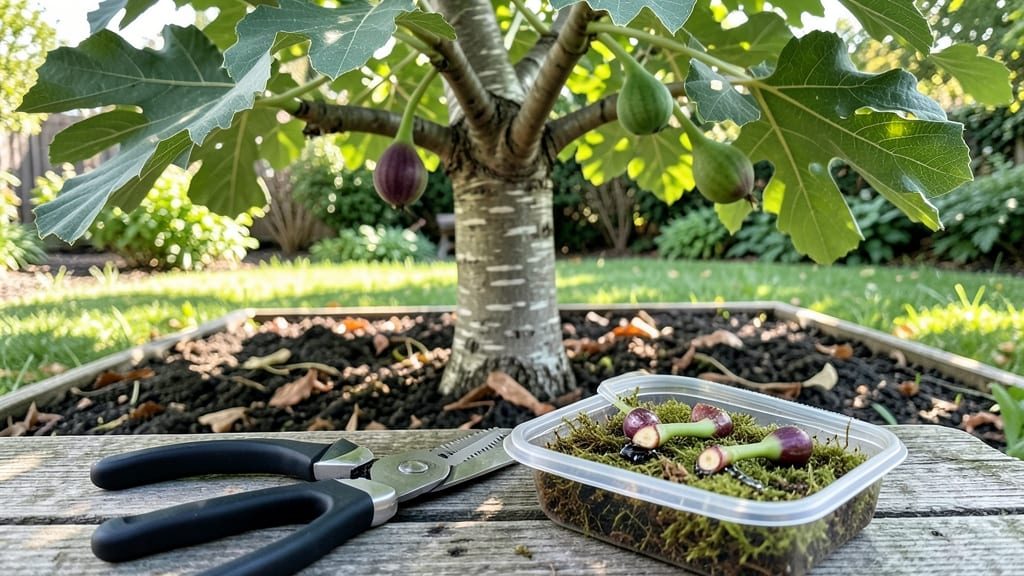
Propagating fig trees from cuttings is the fastest way to get new plants—no root hormone needed. ✨ I’ve rooted fig cuttings in just 3 weeks using a simple water method that works even for beginners. The key? Choosing the right stems and keeping them happy while roots form.
You’ll need sharp pruners, clean jars, and a sunny windowsill or grow light. Fig cuttings root best in late spring or early summer when the tree is actively growing.
Just snap off 6-inch stems with a few leaves, strip the lower foliage, and place them in water. That’s it—no fancy tools or complicated steps.
Within 2-3 weeks, you’ll see tiny roots forming at the base. Once they’re an inch long, plant them in well-draining soil, and they’ll grow into full-sized trees. The best part? These new figs will fruit faster than nursery-bought plants because they’re already genetically identical to your favorite tree.
This method works for both indoor and outdoor figs, and it’s perfect for expanding your garden or sharing cuttings with friends. Ready to grow your own fig grove? Let’s get those cuttings rooted!
📚 In This Guide
- What you need
- Instructions
- Tips and common mistakes
- Wrapping up and next steps
What you need
- ● Healthy fig tree cuttings: 4–6 inches long, with at least 2–3 nodes (brown bumps where leaves grow). Use semi-hardwood or mature wood (not too soft, not too woody). Quantity: 3–5 cuttings per attempt.
- ● Sharp pruning shears or clean knife: Sterilized with rubbing alcohol to prevent disease. Spec: Bypass pruners or a utility knife with a smooth blade.
- ○ Rooting hormone (optional but helpful): A powdered or gel-based rooting hormone (e.g., Clonex or Dip ‘N Grow). Note: Not required—figs root easily without it!
- ● Well-draining potting mix: A blend of 50% perlite or sand + 50% peat moss or coco coir. Avoid garden soil—it compacts and rots cuttings.
- ● Small pots or containers: 4–6 inches deep with drainage holes. Options: Plastic nursery pots, yogurt cups with holes, or seed trays.
- ● Clear plastic bag or humidity dome: To create a mini greenhouse effect. Spec: A zip-top bag or a plastic clamshell works.
- ● Spray bottle with water: For misting cuttings (room-temperature water only).
- ● Twine or rubber bands: To secure the humidity cover in place.
- ● Heat mat or warm location: Figs love warmth (70–80°F). A seedling heat mat speeds up rooting, or place pots near a sunny window.
- ● Fertilizer (after rooting): A balanced liquid fertilizer (10-10-10) diluted to half-strength once roots appear.
- ● Rooting hormone alternative: Cinnamon powder (natural antifungal) or aloe vera gel for a DIY touch.
- ● Grow lights: If your space lacks bright, indirect light (12–14 hours/day).
Step-by-step instructions for propagating fig trees from cuttings
Here's how to grow new fig trees from cuttings—no fancy tools or rooting hormone needed!
🌱 Step 1: Select and Prepare Healthy Cuttings
Choose mature, pencil-thick stems from your fig tree—look for 4-6 inch long sections with 3-4 leaf nodes (those little bumps where leaves grow). The best cuttings come from semi-hardwood growth (new but not soft). Use clean, sharp pruners to make a 45-degree angle cut just below a node—this gives roots more surface area to form.
Strip off the lower leaves, leaving just 1-2 leaves at the top. This reduces moisture loss while the cutting focuses energy on rooting. If you're working with a particularly large leaf, trim it in half to cut down on water evaporation. I always dip the cut end in lukewarm water for 10-15 seconds—this helps hydrate the cells and kickstarts root growth faster.
💧 Step 2: Create a Moist, Warm Rooting Environment
Fill a small container (like a 6-inch pot) with perlite or coarse sand—these materials drain well but hold enough moisture to keep cuttings happy. Moisten the perlite until it feels damp to the touch, like a wrung-out sponge. Stick your prepared cuttings 2-3 inches deep into the perlite, spacing them 2 inches apart. You'll end up with 4 rooted cuttings using this method.
Cover the container with a clear plastic bag or humidity dome to trap warmth and moisture. Place it in a spot with bright, indirect light—think 60-70°F and high humidity. Avoid direct sun at first; it can overheat the cuttings. I like to prop mine near a south-facing window but out of harsh afternoon rays. Check daily for condensation inside the bag—if it's foggy, you're golden. If it's dry, mist the perlite lightly.
☀️ Step 3: Encourage Root Growth with Light and Patience
After 7-10 days, you'll notice tiny white or yellowish roots forming at the cut end—this is your first sign of success! Keep the perlite consistently moist but never soggy. Stick your finger in—if the top inch feels dry, give it a light mist. Overwatering now will drown your cuttings before roots establish.
After 3 weeks, gently tug on the cuttings. If you feel light resistance (like a tooth pulling free), roots have formed! If not, give it another week. Once rooted, remove the plastic cover gradually—5 minutes a day over 3-4 days—to acclimate them to normal air. This prevents shock from sudden humidity changes. Place them in dappled sunlight for a week before moving to full sun.
🪴 Step 4: Transplant Rooted Cuttings to Soil
Fill 4-inch pots with a mix of 50% potting soil and 50% perlite for drainage. Dig a hole slightly deeper than the cutting's rooted section and plant it, firming soil around the base. Water deeply until it drains from the bottom. Place the pots in a shady spot for 1-2 weeks to recover from transplant shock.
After 2 weeks, gradually introduce them to morning sun first, then full sun over 7-10 days. Figs love heat, but sudden exposure can scorch new leaves. You'll know they're thriving when you see new growth within 4-6 weeks. That's your reward for patience—4 new fig trees from a single parent plant!
Tips & tricks for propagating fig trees from cuttings
Ready to turn your single fig tree into a whole grove? These game-changing tips will help you root cuttings faster and with fewer headaches.
Cutting Selection: When choosing your 4-6 inch cuttings, look for stems that bend slightly but don't snap easily—this indicates healthy, semi-hardwood growth. I've found that cuttings from the current season's growth (not last year's wood) root the fastest. Avoid stems with any signs of disease or damage, no matter how tempting they might seem. The 45-degree angle cut is crucial—it increases the surface area for root formation, so don't skip this step!
Root Growth Boost: For an extra rooting boost, I've had great success with a 10-second dip in lukewarm water followed by a quick dip in honey (just a tiny amount on the cut end). The honey provides natural antibacterial properties while the water jumpstarts hydration. This optional step can cut your rooting time by about 3-5 days—just don't overdo it, as too much honey can actually inhibit growth.
Environmental Control: That 60-70°F temperature range is your sweet spot, but maintaining consistent humidity is just as important. If your home tends to be dry, consider placing a small humidifier nearby or grouping your cuttings with other plants to create a microclimate. I've noticed that cuttings in humid environments show root formation about 2 days earlier than those in dry air. The foggy condensation test inside your plastic bag is your best indicator—aim for a light misting on the inside of the bag when you check daily.
Transplant Timing: When you're ready to transplant after 3-4 weeks, don't rush the hardening-off process. That gradual 5 minutes per day increase is critical—fig cuttings are particularly sensitive to sudden environmental changes. I've seen cuttings wilt dramatically when moved too quickly from high humidity to normal air. Start with just 5 minutes of uncovered time, then increase slowly over 3-4 days while monitoring for any signs of stress in the leaves.
Pro Tips for Propagate Fig Tree From Cuttings
- Ready to turn your single fig tree into a whole grove?
- Cutting Selection: When choosing your 4-6 inch cuttings, look for stems that bend slightly but don't snap easily—this indicates healthy, semi-hardwood growth.
- Root Growth Boost: For an extra rooting boost, I've had great success with a 10-second dip in lukewarm water followed by a quick dip in honey (just a tiny amount on the cut end).
Frequently asked questions
Got questions about propagating your fig tree from cuttings? You’re not alone! Here are some of the most common concerns—and their answers—to help you succeed like a pro.
1. Can I propagate a fig tree from cuttings without root hormone?
Fig cuttings root easily without root hormone, especially if you use semi-hardwood stems (about pencil-thick) and follow the right moisture and warmth conditions. Just keep them in a humid environment—like a plastic bag setup—and patience is key.
2. How long does it take for fig cuttings to root?
With the right care, fig cuttings typically root in 2–4 weeks. You’ll know it’s working when you see new growth at the top or feel slight resistance when gently tugging the cutting. If you’re impatient, check for tiny white roots peeking from the base (use a magnifying glass if needed!).
3. What’s the best time of year to take fig cuttings?
The ideal window is late spring to early summer (May–June in most climates), when the tree is actively growing but not yet flowering. Avoid winter cuttings—they’re dormant and won’t root well. If you’re in a warm climate, you can experiment year-round, but timing matters!
4. My fig cutting is turning yellow—what went wrong?
Yellowing leaves usually mean overwatering or low humidity. Let the cutting dry slightly between waterings (keep the soil moist, not soggy), and mist it daily or use a humidity dome. Yellowing at the base? It might be rotting—trim the bad part and replant in fresh, well-draining soil.
5. Can I propagate fig trees from leaves or small stem tips?
Not effectively! Fig trees need 4–6 inches of stem with at least 2–3 nodes (those little bumps where leaves grow) to root successfully. Leaf cuttings or tiny tips lack the energy reserves to survive. Stick to healthy, woody stems for the best results.
Bonus: What if my fig cutting won’t root?
Try these fixes:
- Check the stem: Ensure it’s healthy, not mushy or shriveled.
- Adjust humidity: Increase it with a plastic bag or pebble tray.
- Warmth matters: Keep cuttings in a spot with 70–80°F temps.
- Patience: Some stubborn cuttings take longer—wait 6+ weeks before giving up!
Wrapping up and next steps
Propagating a fig tree from cuttings is a rewarding way to grow your own thriving plant—without root hormone! With just a few simple steps, you can root healthy stems in as little as three weeks and enjoy the satisfaction of nurturing new life.
Whether you're a beginner or a seasoned gardener, this method is accessible and effective.
Now that you’re equipped with the know-how, give it a try! Start with a healthy cutting, follow the care tips, and watch your fig tree grow. Ready for the next step? Consider transplanting your rooted cuttings once they’re strong enough to thrive in their new home.